
Iron-on patches are very handy as they easy to use almost all types of clothing materials. Initially, they were used to hide irremovable marks and cuts, but now these patches are also used to make the article more stylish. Travellers also use these patches to identify their bags. They are easily available from local and online stores. You can even order custom iron on patches from various online stores, but the order should be large enough otherwise the order will be not cost effective. You can also make custom iron patches at home without at professional assistance.
Get Necessary Material
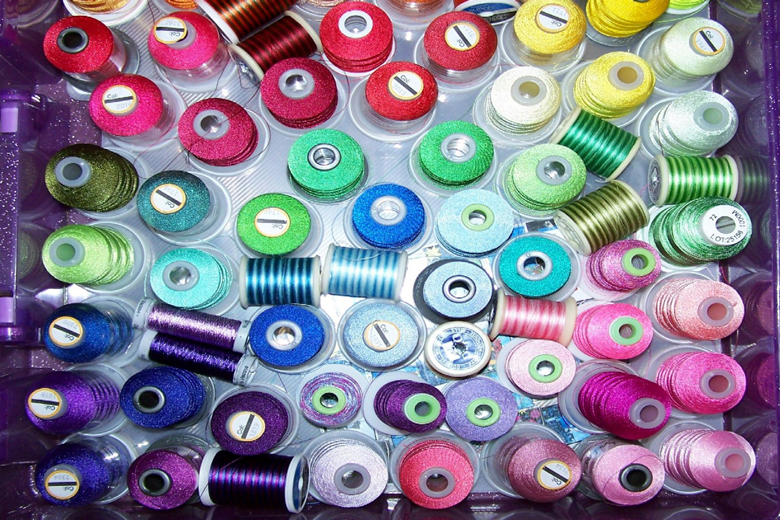
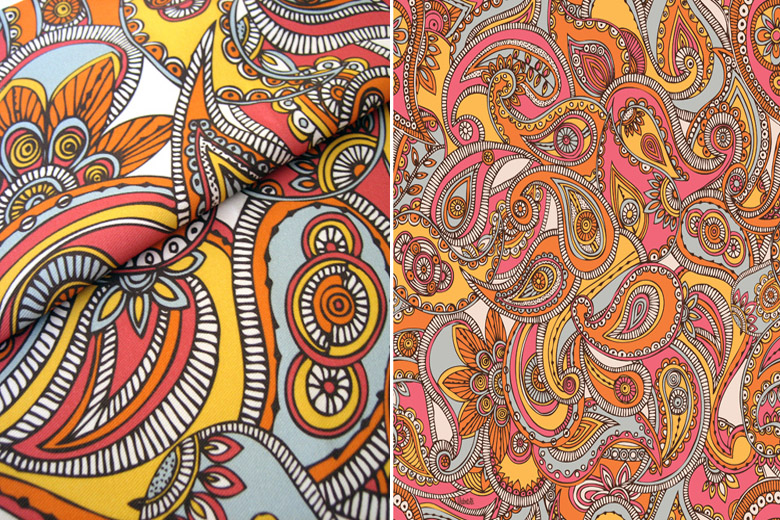
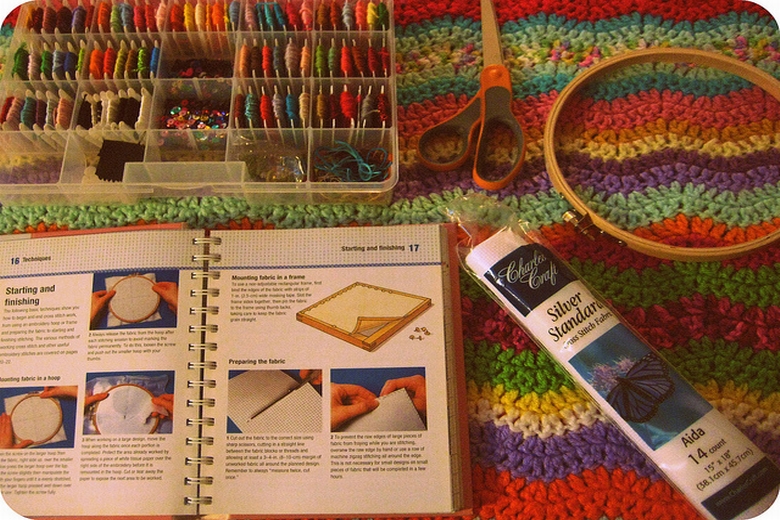
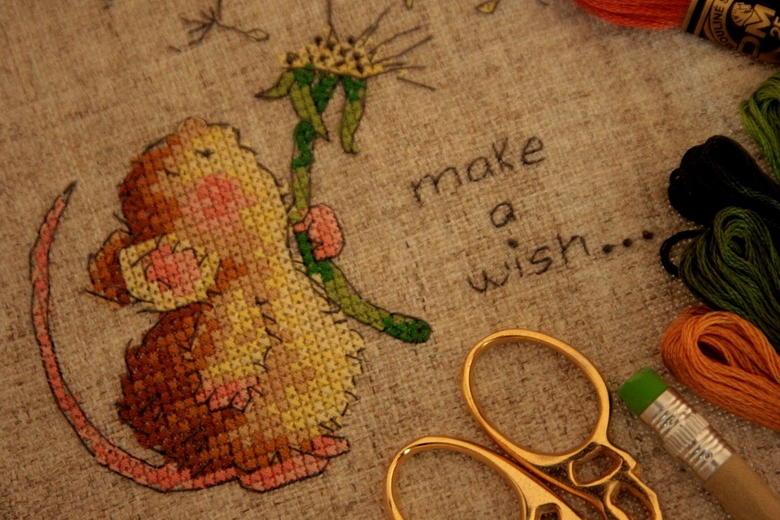
It is very easy to make them as you will require only a piece of base fabric, carbon paper, scissors, pencil, geometry kit, iron and fabric bonding material also referred as the Thermo-web adhesive. All these things are either present in almost every house or easily available in the market. The base fabric should be of high quality. If you want to keep this procedure simple then buy a fabric with a nice pattern. To make a complex design, you will require several pieces of fabrics with different colors and then you have to sew them on the base fabric to complete the patch.
Make a Design
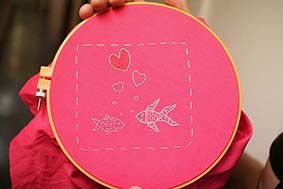
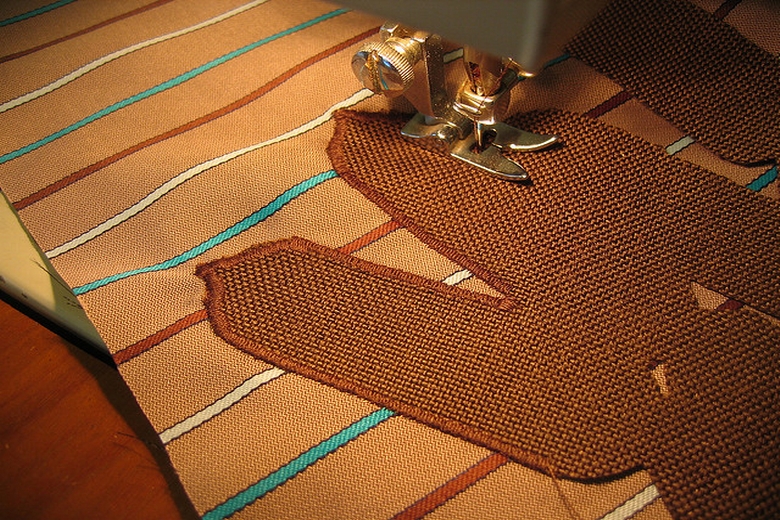
After getting the necessary material next step is the designing. The magnificence of the patch depends on your creative design and you ability to draw it on paper. You can also select good designs from the internet because it will be easy. If you are getting your design from the internet then take a print out of the design. Make sure the size of the design should be according to the size of desires patch. Use white carbon paper to draw the design on the back side of the base fabric. After that, you have to cut the fabric. Use a sharp pair of scissors for smooth cutting of fabric. The most difficult part of the custom iron on patches is the application of adhesives on the patch. You must know that you have to apply adhesives on the back side of the patch where you want it to stick with the selected article. Do not apply the extra amount of adhesives because it can damage the fabric. Apply just the right amount of adhesive and it will be better to put the patch on a piece of paper so that it doesn’t stick to any piece of cloth. After that, leave the patch to dry. After few hours, it will be ready to be used.
How to Apply Patches
Another important factor that decides the life of these patches on any piece of fabric is the method of application. To apply the patch effectively, first of all, wash the cloth on which you want to apply the patch. If you want to use the patch on a bag then wash the area where you want to stick the patch. The purpose of washing is to remove all the dust particles from the surface because they can decrease the adhesiveness of the patch. Heat up the iron to the appropriate level. Place the patch on the selected area and then iron it. It is better to iron the area slowly for a long time because it will increase the bonding power of patch and the selected cloth. Though these tips are of basic nature but they can double the life of iron on patch. If you want to further increase the life of patch then sew the corners with a fine thread of the same color as that of fabric. It is good techniques because several washes can remove the patch. Some say that stitching kills the purpose of iron on patching, which is a fair point but here you have to do a trade-off between longer life and better looks.
These steps will guide you to make wonderful custom iron on patches but if you want to get these patches in bulk quantity then it will be better to order it from the reliable retailer. Before buying make sure to ask for high-quality adhesives because the iron on patches are as good as their adhesiveness.


Comments
Submit Comment