
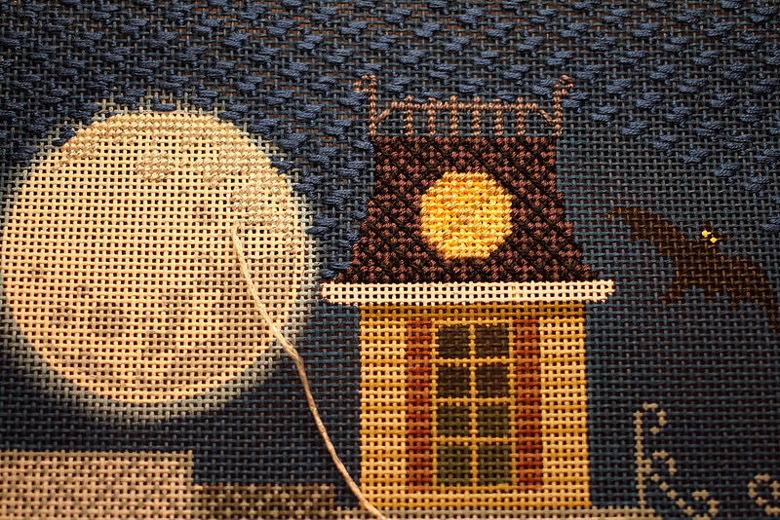
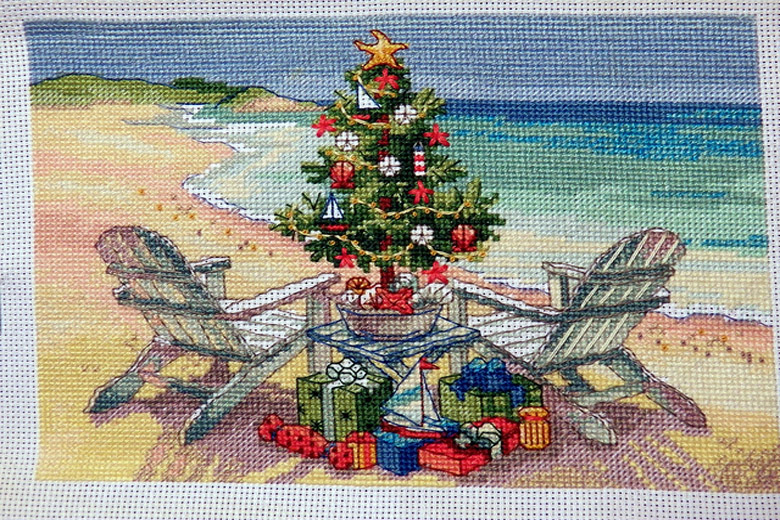
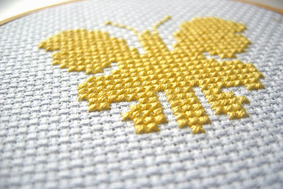
There are plenty of ways of finishing needlepoint stockings. If you think that you need to be a professional finisher for this purpose, then you are wrong. You simply have to be aware of the basic method of assembly and you will have the best results readily. There are some key decisions that you will have to make if you want to get professional results, of course. Then you are ready to stitch the needlepoint. The decisions you make are going to influence the finishing.
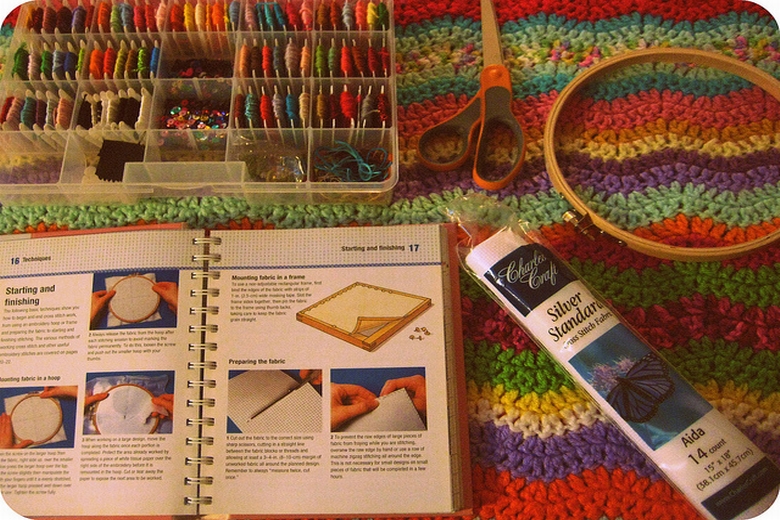
So where do you being with? Firstly, you have to choose the fabric for the stocking back and the lining. Then comes the decorative. You will need tools to get started with the project, but a good thing is that the needlepoint Christmas stocking kits have most of what you need. Here are the 3 key steps in the making of the needlepoint stockings:
- Blocking
You have to block the finished needlepoint by placing it on the stretcher frame using the push pins. The blank canvas must be attached to the frame. Take a wet cloth and damp the canvas with it from the top part of the needlepoint. Stretch it from the centers reaching the sides and then place push pins around the canvas. You have to damp and re-stretch until the stocking becomes straight. After you are done, dampen up the whole needlepoint and then leave it for drying for at least 24 hours.
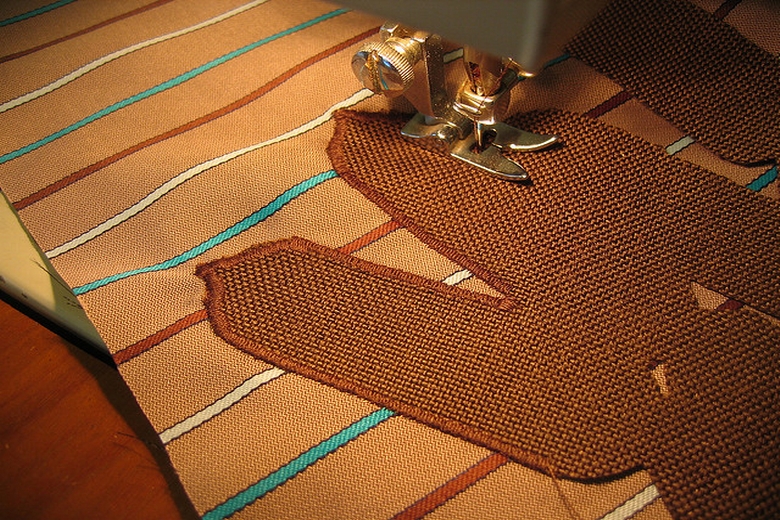
- Assembling
It is time to remove the needlepoint and stitch the stocking with a zigzag setting. Make sure you stitch closebut do not touch the needlepoint. Now cut the excess part of the canvas close to the zigzag stitches. Be careful otherwise you might accidently end up cutting the stitches that you have just made. Make sure that when you are done with cutting, you have the needlepoint point in the shape of stocking only. Use this needlepoint as a template for cutting other fabrics. Now it is time that you stitch the fabric lining to the needlepoint. You need to do the same with fabric backing.
Place the needlepoint and its fabric backing, pin them and stitch around the stocking leaving the top open. Follow the same procedure for sewing the lining pieces.
- Trimming
Open some of the machine stitches on the top right of the stocking. Tuck one end of the cording of the drapery inside and close by your hand. Use the slip stitch technique to stitch the cording at the ride side of the stocking moving all the way to the top left side. Now stitch the ride edge too, but don’t cut the cord. Make a loop and tack it to the stocking. Now stitch the top left side. Cut off the cord now and tuck the end of the stocking inside the top left area. Now stitch the opening too.
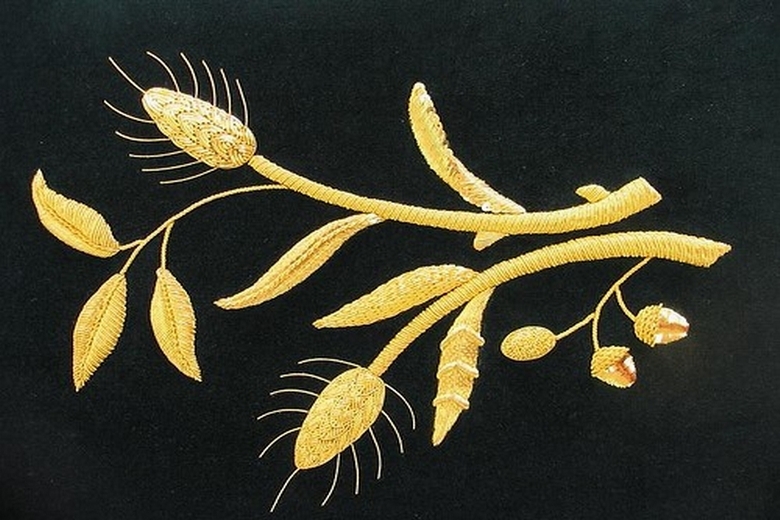
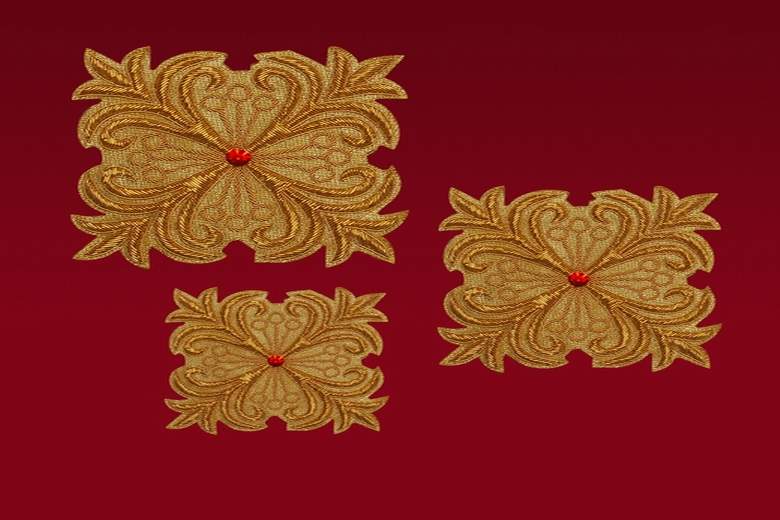
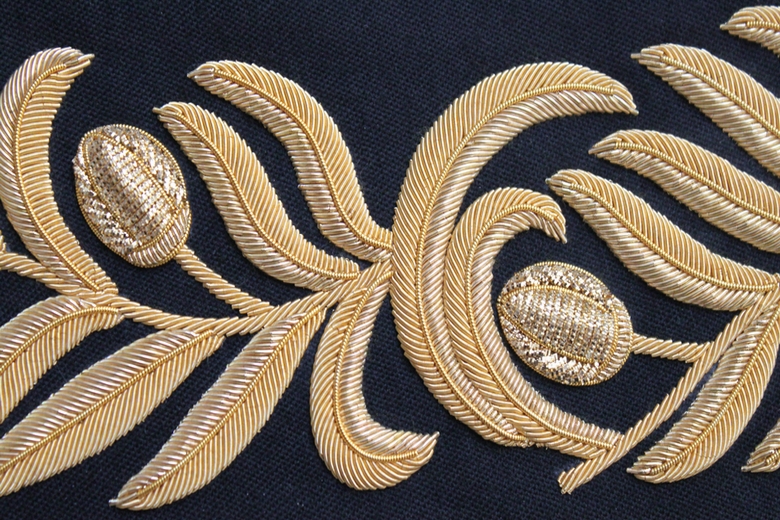
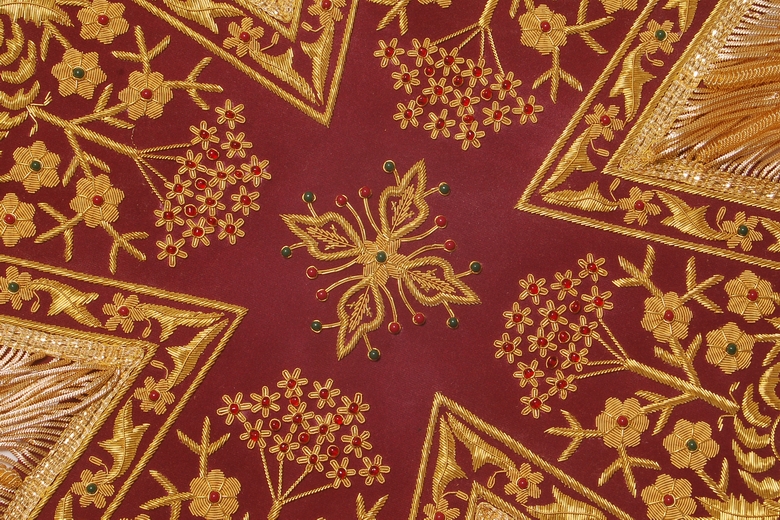
These 3 procedures surely are tricky so it is important to understand that well in order to successfully make the best needlepoint using the needlepoint Christmas stocking kits.You might mess up in the beginning a few times, but that is totally fine.
Make needlepoint stockings with kids
As Christmas is around the corner, it would be a great idea if you make the needlepoint stockings at home. You can also encourage kids or teens to participate in the project of creating needlepoint stockings. Although for them this whole project will be tricky because you have to follow the steps right, but they can turn out to be a good assistant. They can help you in picking the design for the needlepoint, arrange the supplies for you and if they know how to stitch, you can also let them stitch the lining or any other part of the needlepoint stocking under your supervision. It is going to be a fun project to work on. You can also make plain needlepoint stockings and as they are done, hand them over to the kids to decorate them. They can use buttons, glitter, beads and any other embellishment they like for decorating the stockings. When you are done with the project, you can hang them around the Christmas tree or the fireplace.


Comments
Submit Comment