
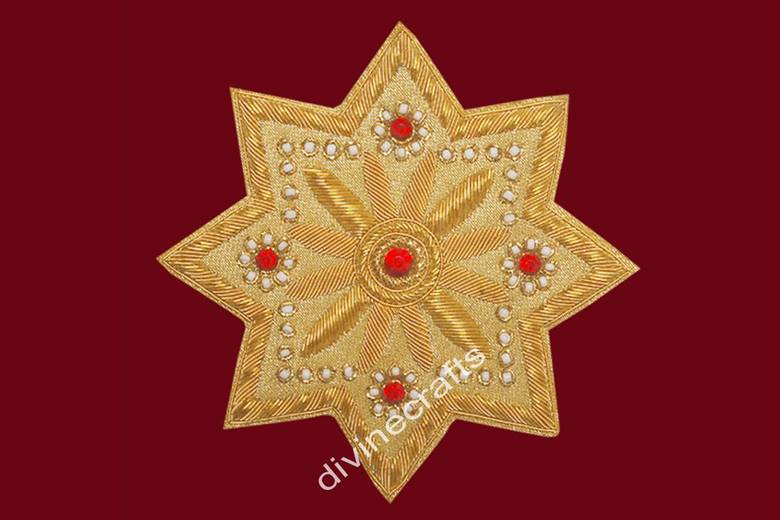
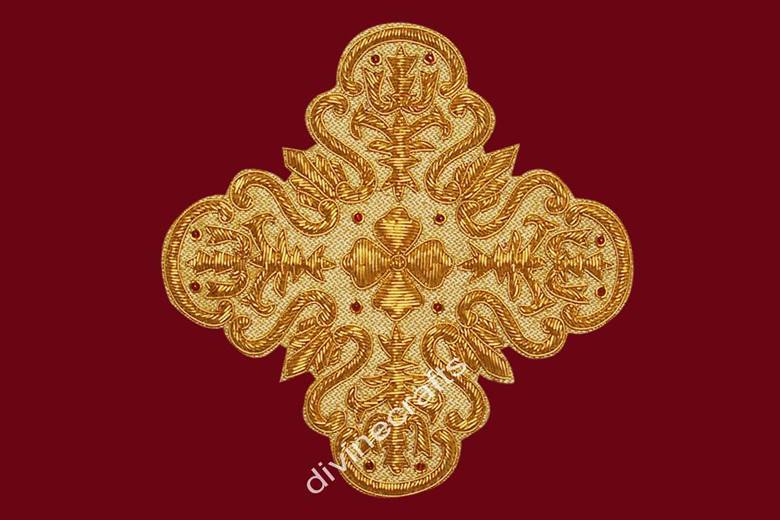
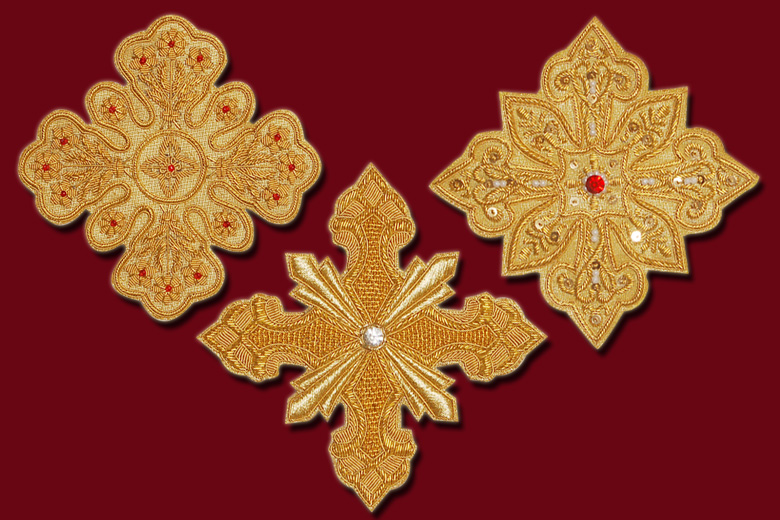
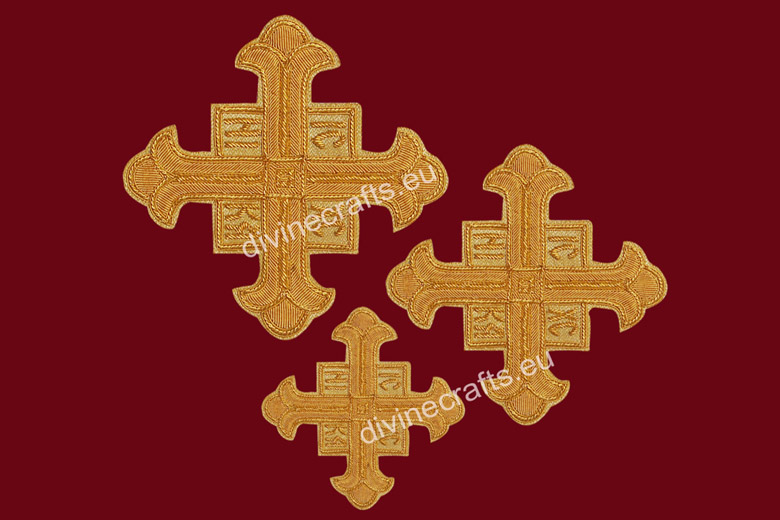
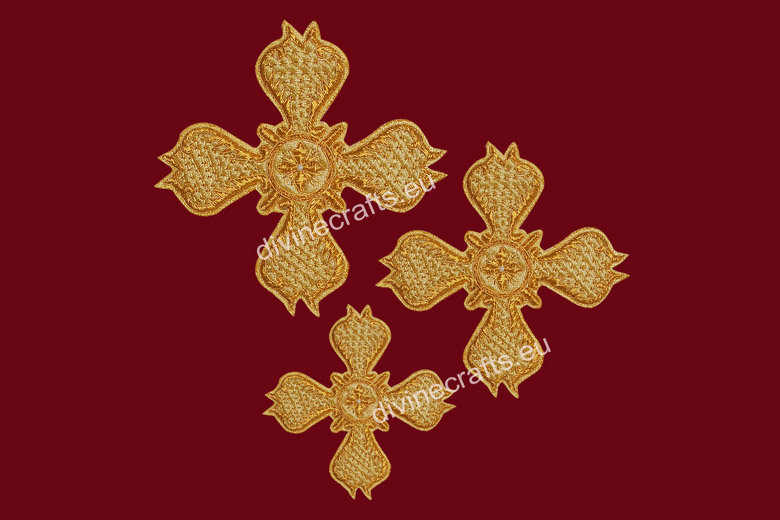
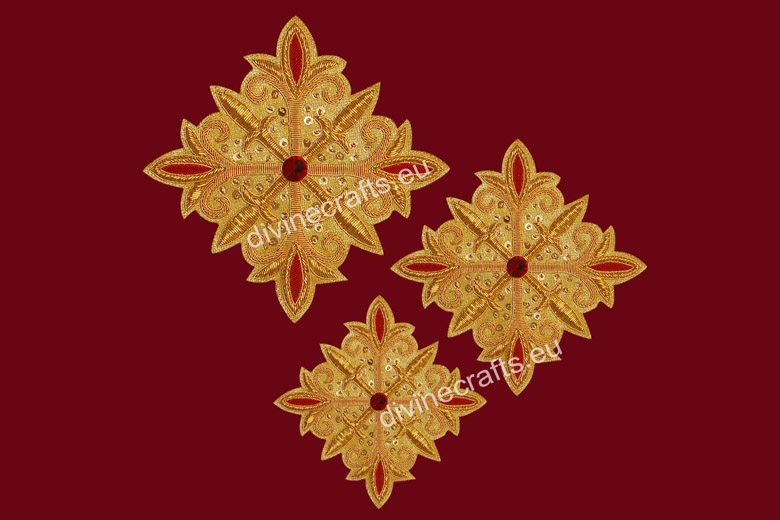
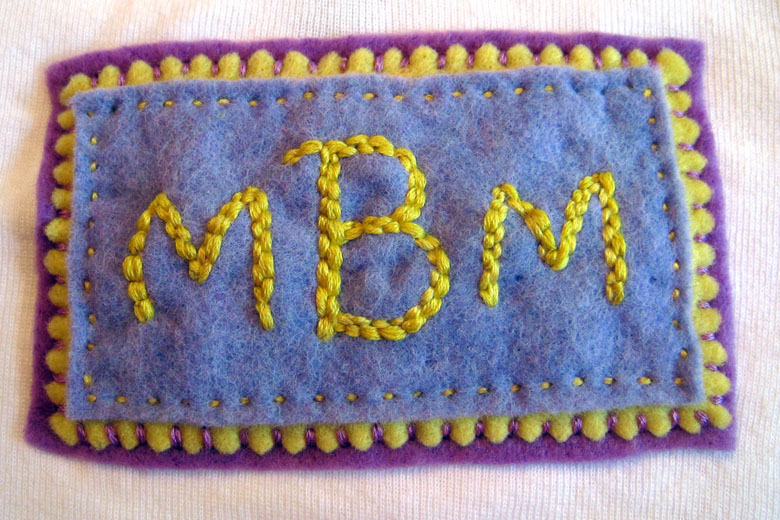
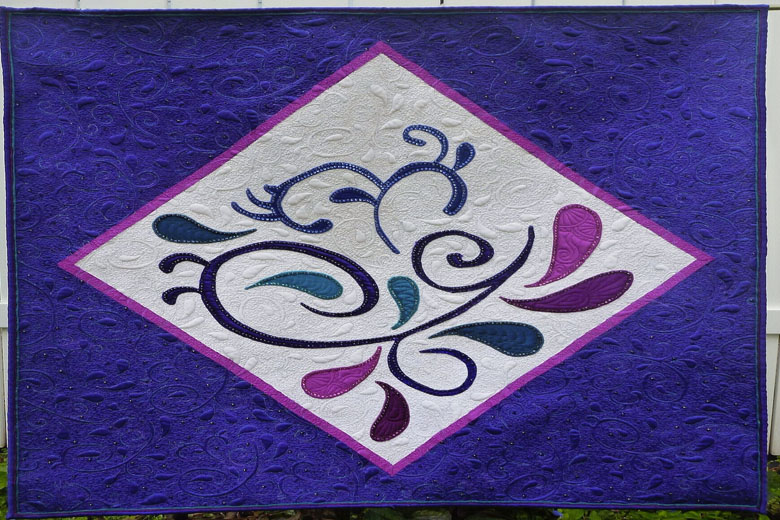
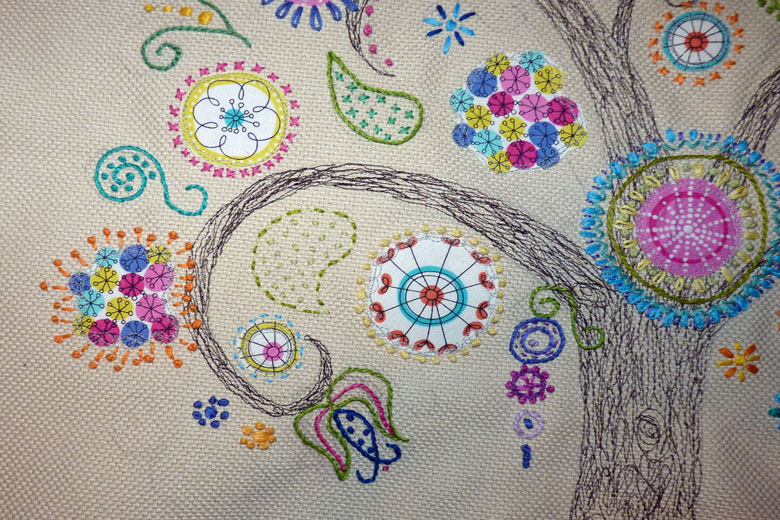
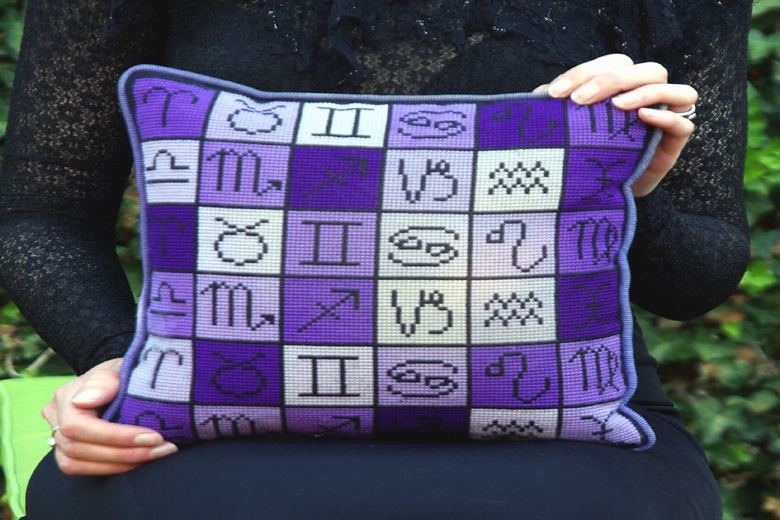
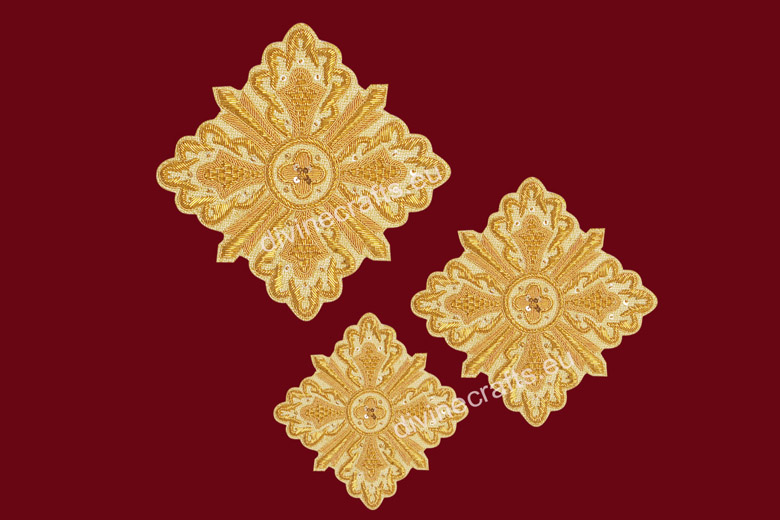
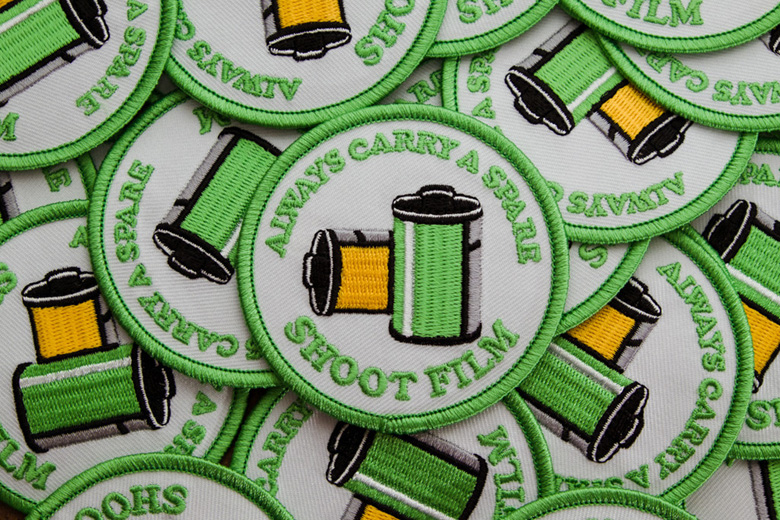
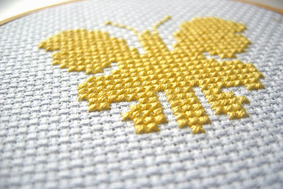
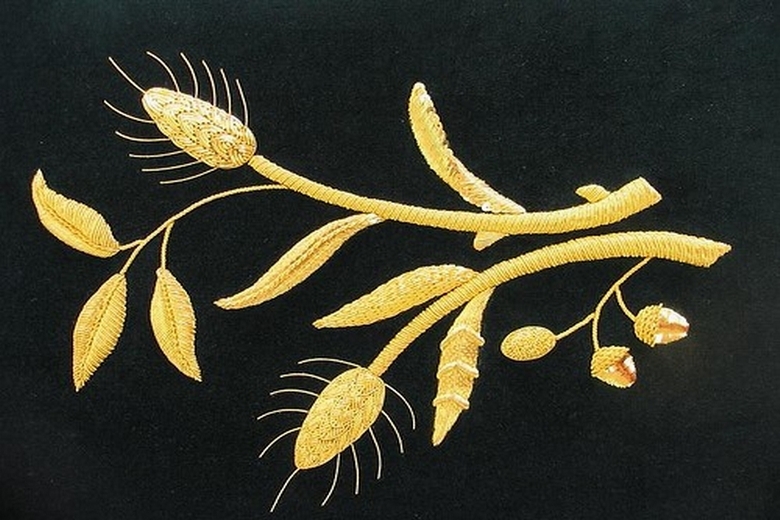
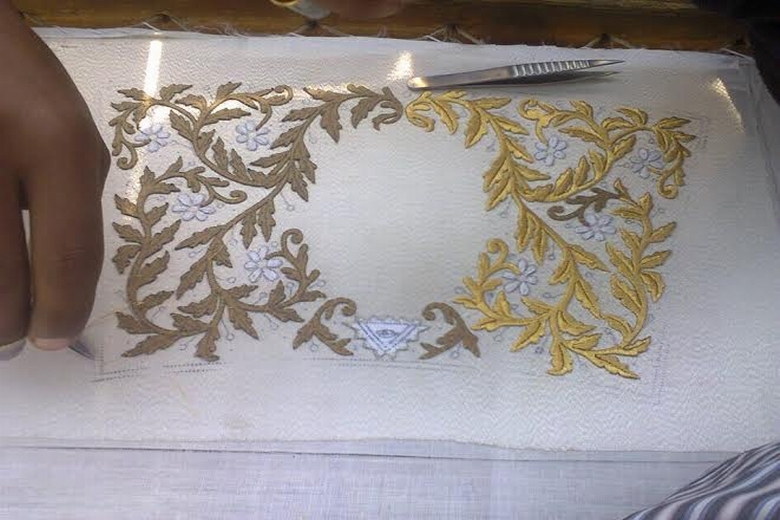
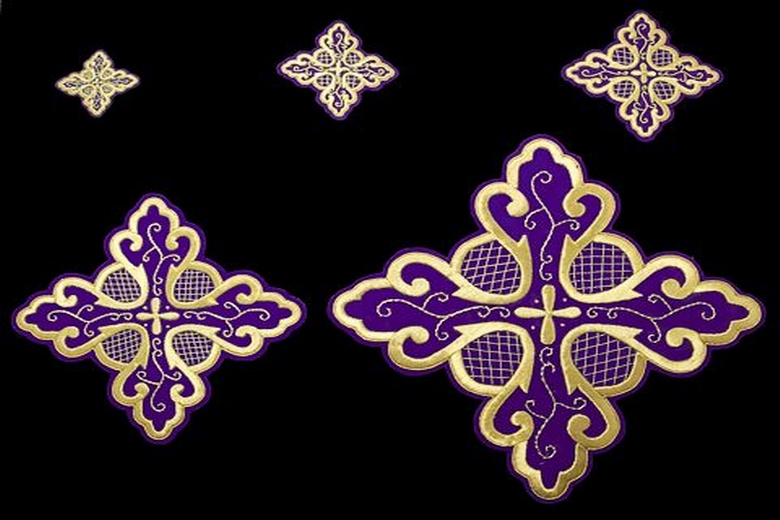
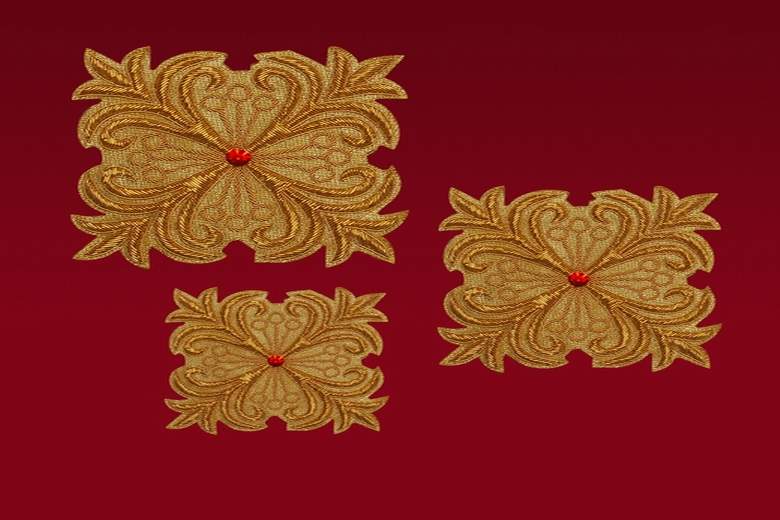
The demand of custom made patches is very high because lots of organizations and individuals use embroidered patches for easy recognition of their institute, idea or association. The embroidered patches are also very feasible because they can be sewed easily on all types of fabric, you can wash them with damaging them and most importantly they last for a very long time. There are lots of companies out there who are working as custom patch maker, but most of them take orders in bulk. It is very relatively expensive to give a small order of custom patches. So, if you want to make a dozen or fewer patches for your college team or secret group then those patch markers are going to very expensive and unreliable. Don’t worry, there are some techniques that can help you to make a perfectly embodied patch with an old sewing machine.
Design the Patch and get Supplies
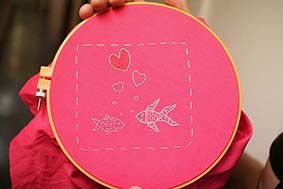
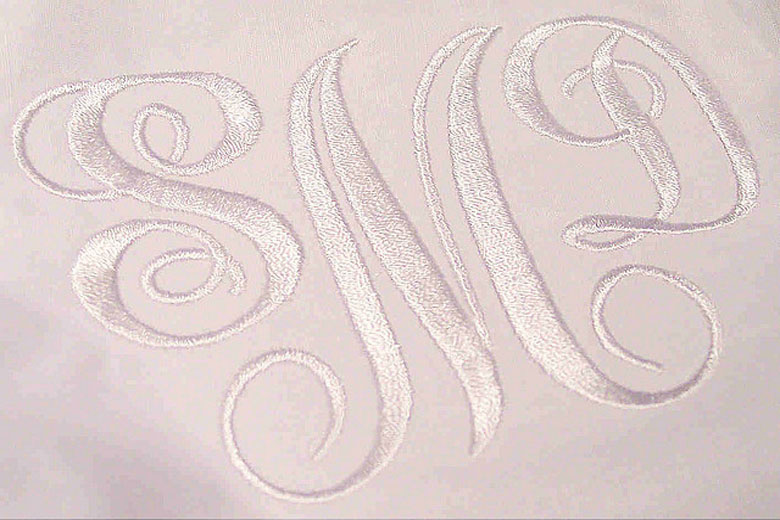
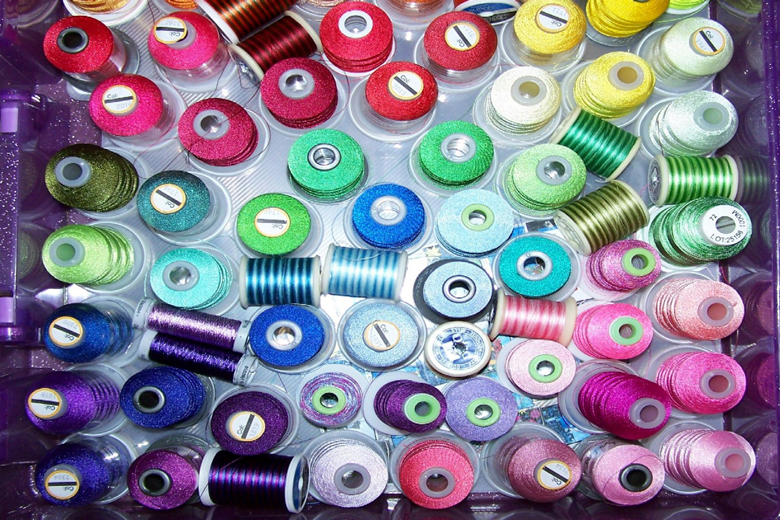
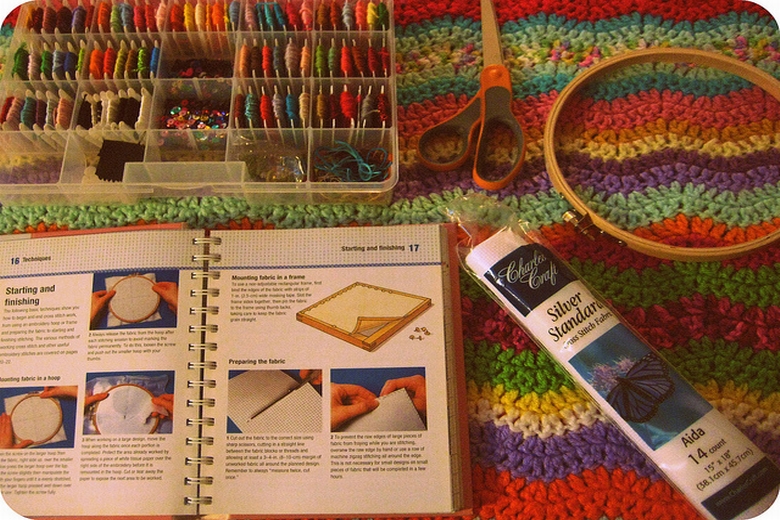
The first step is the designing of the patch. Since you are making a patch at your home so, the design should be simple. There is no need of any complex software like coral draw or Photoshop to design the patch. You can use simple pencil sketching to make a design but make sure to show all things very clearly. The next step is to get the supplies. Some very common things that you will require for this project are; a base fabric, threads, pencil, light box, geometry box for doing measurements, fusible interfacing, an embroidery hoop and a sewing machine that can be used for satin stitching. Most of these things are usually present in homes and other things you can buy easily from the market. If you don’t have a sewing machine then you should borrow it from the friend, no need to buy the new one to make few patches.
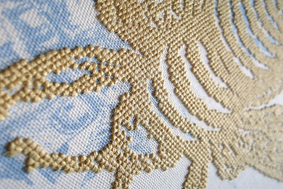
Prepare the Fabric and Setup The Design
The next step is the preparation of base fabric. Take a piece of fabric and iron it with properly with some water sprinkles. It will make the fabric smooth and easy to sew. You have to select the scale of iron according to the type of fabric. Next thing you have to do is to draw the design on the backside of the fabric. To do that you will need the light box that most of us don’t have. You can use the monitor of computer or laptop as the light box. Open paint application in the monitor because the white color on the paint application will emit very bright light. Place the fabric on the screen in such a way that front side of fabric touches the screen. Place the paper design on the fabric. Now you will see the sketch of design on the fabric. If you have a design on the computer then it will be easier because simple putting the fabric on the monitor with design opened on paint will do the job for you. The Next thing is to trace the design.
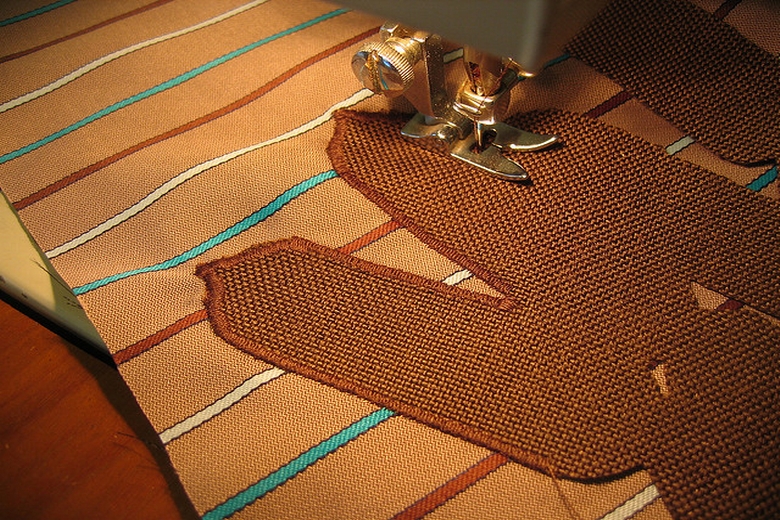
Sew The Design
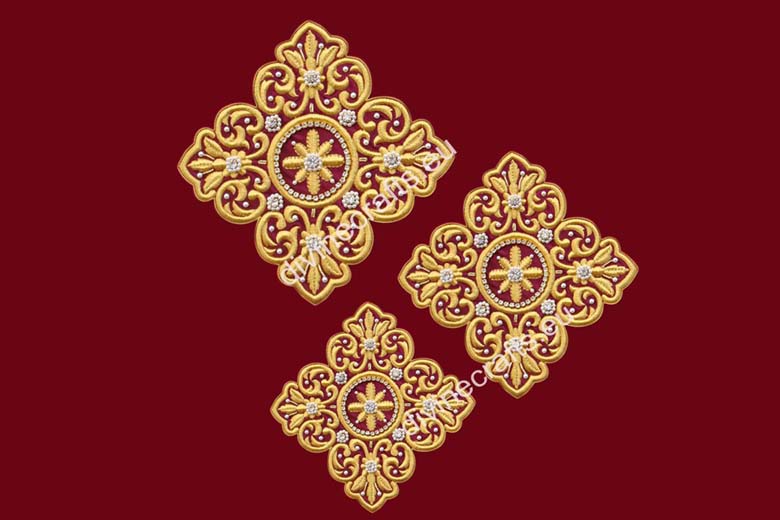
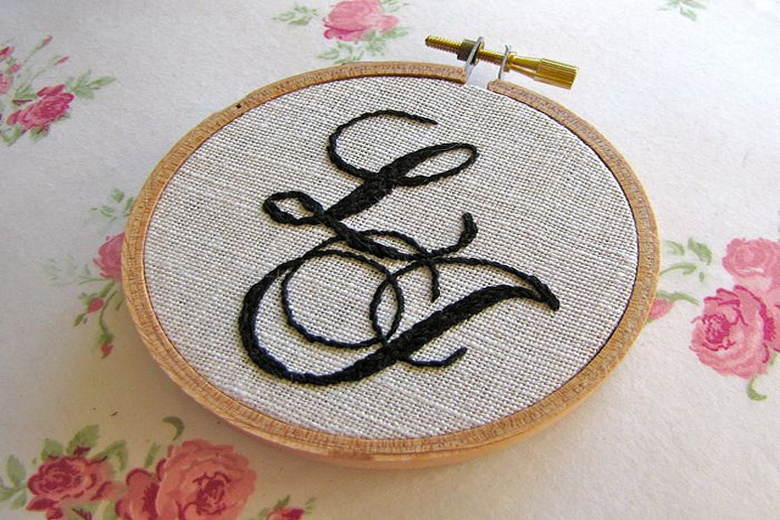
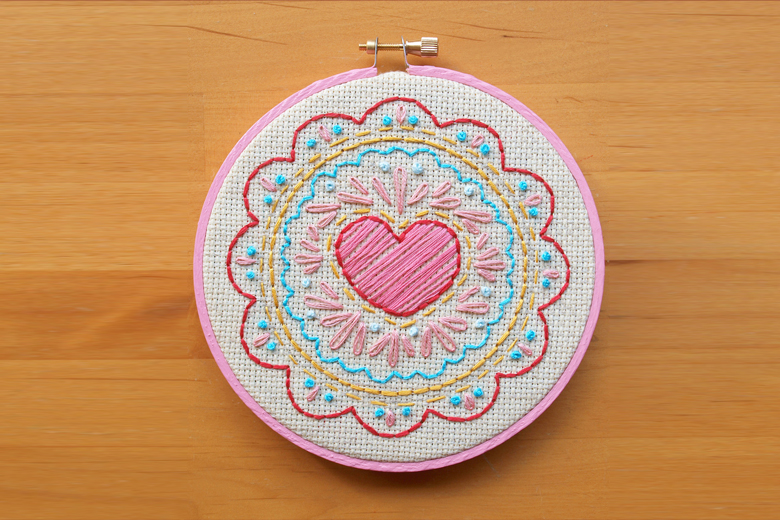
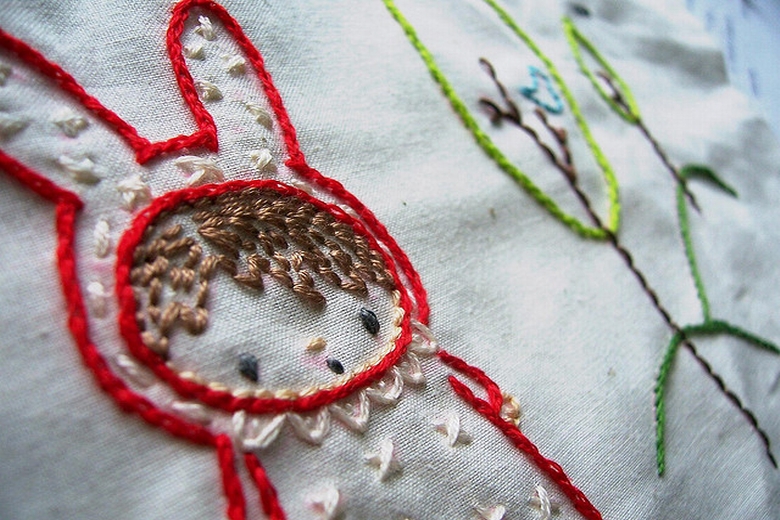
Once you have the exact design on fabric next step is considerably easy. To be a nice custom patch maker you need to learn how to move the fabric in the sewing machine. To make the design visible set the time of sewing machine to the maximum. Most machines show scales from 1 to 10 for the sewing time. You can select 10 for thick parts of the design and smaller numbers for thin parts of the design. This part is slightly technical because you should know how to setup the machine. Before starting the sewing procedure, it is better to make a sewing plan in mind because it is a very time-consuming activity to correct any mistake during the sewing process. Here you can also use the embroidery hoop to make the fabric really tight. It will make the design smoother and you will achieve fine finishing. The last step is the cutting off extra edges and after that your patch is ready.
It means you can be a custom patch maker if you follow all above mentioned steps carefully. You can use your intuition to create some unique designs because your sewing skill defines the quality of your patch.


Comments
Submit Comment