
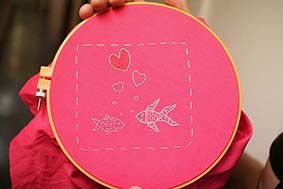
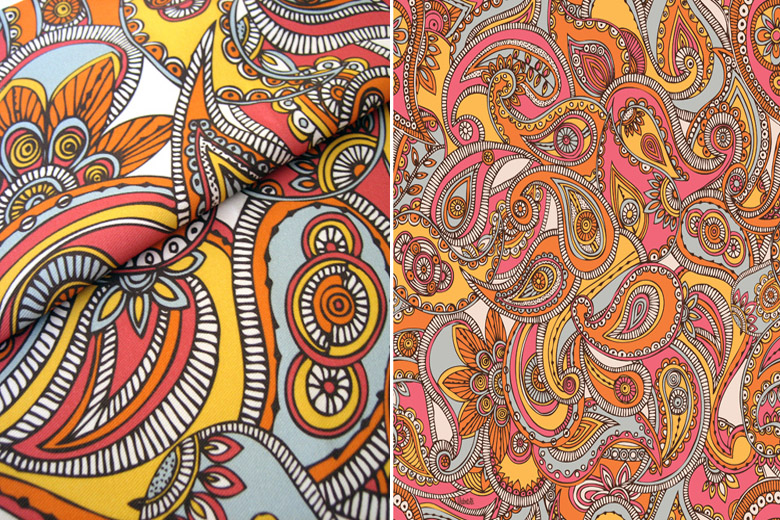
There are lots of fabric prints available in the market, but they can’t provide the sense of completion as the customized fabric prints. There are lots of other reasons for someone to prints his own fabrics. Some of them are; unavailability of right print, expensiveness, wrong color combination, etc. If you have one of these reasons to print your own fabric then you are at the right spot. Printing of a fabric is not that difficult as it seems. Some basic tricks can do an exceptional job for you.
Get The Materials
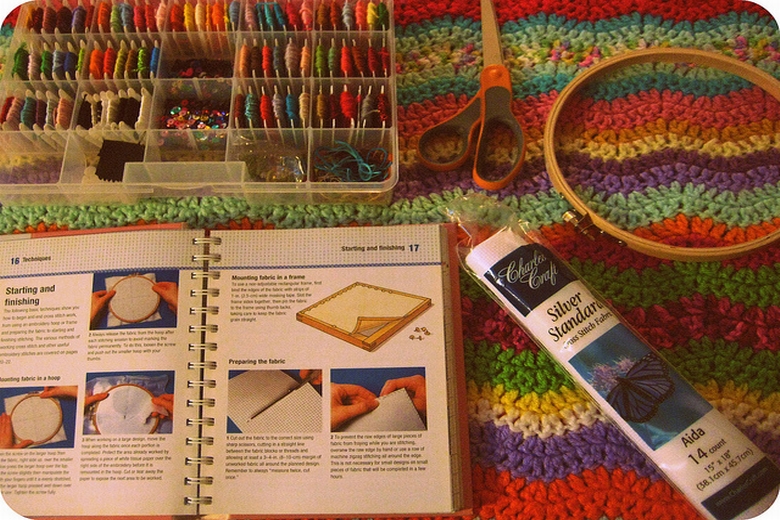
First of all, you have to realize that if you want high-quality printing it is not going to be free. Things that you must require for this job are; ink jet printer, cutting mat, packing labels, photo editing software, metal ruler, and fabric. It is recommended to get 100% cotton fabric of white color. You can easily buy them as they are very common. Cotton soak the ink very quickly and print does not fade easily on it, therefore cotton fabrics are preferred. But it is not compulsory, you can use any other fabric too but printing on them will be not that effective.
Steps Of Printing
The first step is the designing of print. You can use any photo editing tool for this purpose. It is difficult to create your own print, therefore, you can get the desired print from the internet. The next step is the setting up the printer. The general ink of printer usually stay on the fabric for a long time but if you want a washable print then you can more dyes because the dye is not water resistant. For the permanent printing add some pigments in the ink. Both pigments and dyes are easily available in the market. It will be better if you put few drops of the ink on a small piece of a paper and leave it to dry. Then wash that piece of fabric to test that either the ink is according to your requirement or not.
The next step is the adjustment of fabric on the roller of the printer. Use metallic rulers to adjust the length of the fabric. This step is very crucial because a slight tilt can ruin your fabric and your ink will be wasted. Usually the side that touches the rollers got printed, but you have to adjust the side of fabric according to your printer’s design. If you are using someone else’s printer then it will be better to check this aspect too because you never know when things go wrong. After setting the whole system use the print function and after few minutes you fabric will be printed with your desired design.
Finalize the Printing
After printing the fabric, finalize this procedure carefully so that all your efforts do not go wasted. It is recommended to keep the fabric stretched while printing and when it comes out of the printer leave it to dry for few hours. Place the fabric on a smooth surface so that the color does not deteriorate from any part of the fabric. If you do not have any smooth and clean surface then you can hang the fabric with the help of the clips. Make sure the fabric remain stretched all the time but not too much stretched because it will leave the gaps on the print. The best way to dry the fabric is to hang it or place it in a room with reasonable sunlight and air. It will let the color to dry slowly and in this way it will stay on the fabric for a longer period of time.
There are lots of other methods to print your own fabric, but this method is best because it allow you to print any kinds of image on the fabric. The only limitation of this method is that you can print large pieces of fabric because of the small size of general printers. You can print your small pieces of the fabrics with the help of this technique and then you can join those small pieces to make a big piece of printed fabric.


Comments
Submit Comment